
Agency quick start: from invitation to first listing
The checklist for a newly registered agency: finish setup, verify the business, invite agents, publish the first listings, and connect your CRM. About an hour end to end.
1. Complete the agency setup
You received an e-mail with a setup link after registering at domuhq.cz/registrace-kancelare or talking to sales. Open it on the web, fill in the company details (name, IČO, DIČ, phone, website) and your own account (name, phone, password, verification code). This creates the owner account and the agency on a Host Enterprise plan with your agreed number of seats.
2. Verify the business
Profile, My Hub, Business verification: complete Identity (KYC) with your ID and a selfie, then enter the 8-digit IČO and Submit. Once Verified, every listing your agents publish carries the Verified badge automatically and skips the document upload. See Verify your business with IČO.
3. Invite your agents
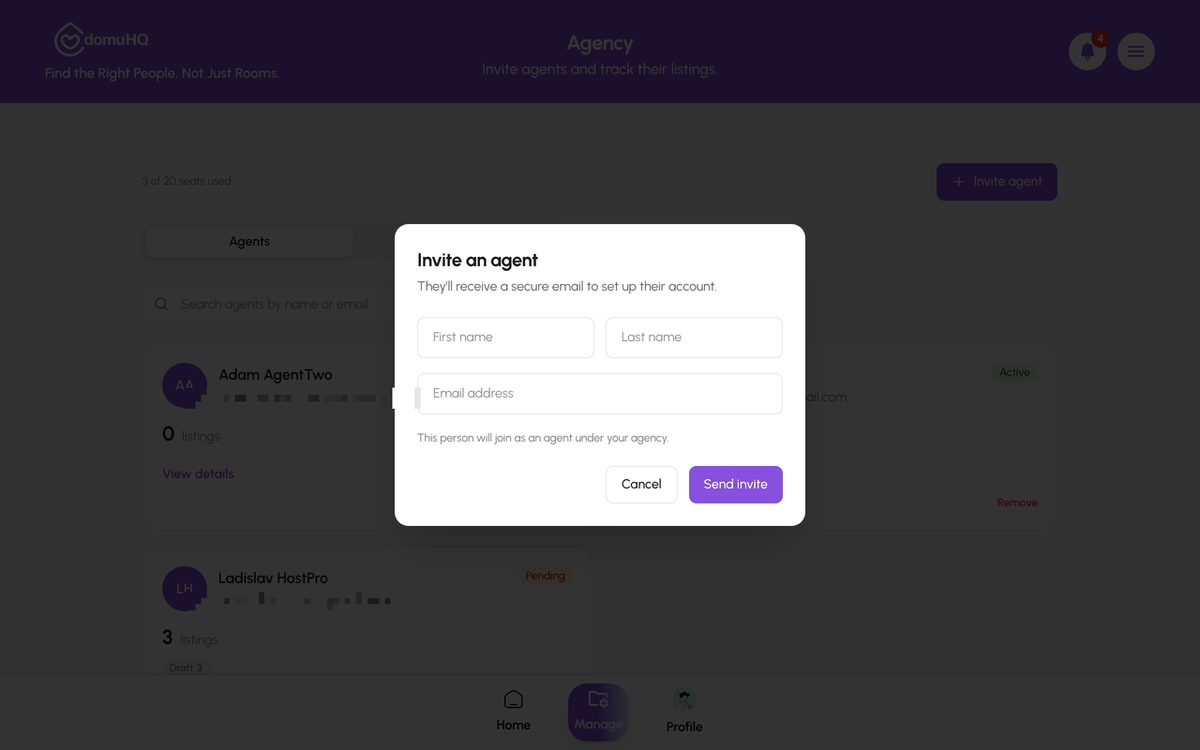
Manage, Invite agent: first name, last name, e-mail, Send invite. The agent gets an e-mail; if they already have a DomuHQ account they also see an Agency invitation in the app. Accepting turns their account into a Host account under your agency (their personal Roommate or Renter profiles are paused) and uses one seat. Pending invitations sit under Manage, Pending, where you can resend or cancel them. See Agencies: dashboard, agents, seats, and CRM connection.
4. Publish the first listings
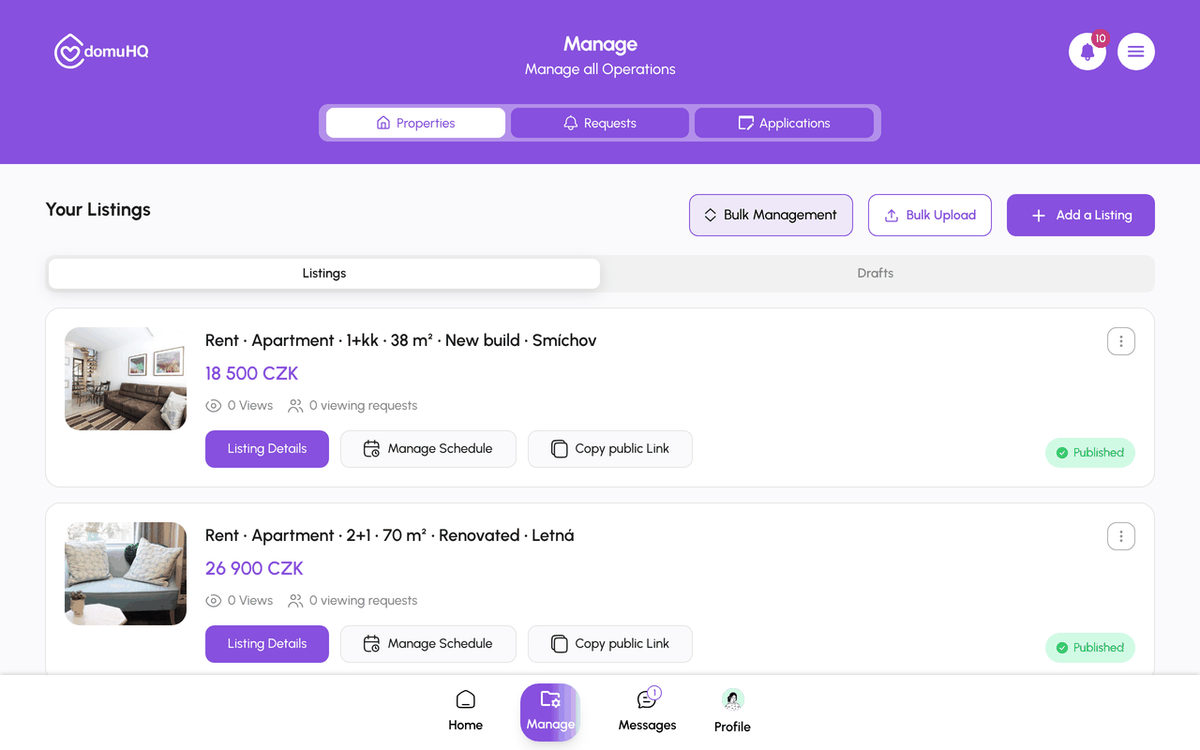
Agents create listings from Manage, Add a Listing with the 7-step wizard (details, location, pricing, features, policies, photos, publish), or with Bulk Upload from an .xlsx template for many at once. Listings go through a content review (usually within 24 hours) and then appear in renter search. See Create a listing and Bulk-upload listings.
5. Connect your CRM (optional)
On the Agency overview, the CRM Connection card shows your Client ID; tap Generate password to create the import password. Enter both in your Sreality-compatible real-estate software and it publishes and updates listings on DomuHQ automatically, with no retyping.
What happens next
- Renters contact your agents from a listing; the request lands under Manage, Requests, Connection.
- Viewings are booked against the availability your agents set with Manage Schedule.
- Applications, contracts (DigiSign with BankID or SMS), and payment confirmations run on Track Application.
- The Agency overview shows agents, listings by status, listings per agent, and seats used.
Need help
Your account manager, or sales@domuhq.cz for plan and seat changes, support@domuhq.cz for anything else.
Step-by-step
- 1
Complete Agency setup
5 minutesOpen the setup link from your e-mail on the web and fill in the company and owner details.
- 2
Verify the business by IČO
5 minutesProfile, My Hub, Business verification: Identity (KYC), then the 8-digit IČO, Submit.
- 3
Invite agents
1 minute per agentManage, Invite agent: name, e-mail, Send invite. Follow the invitation under Pending.
- 4
Publish listings
20 minutes per listing, or one bulk uploadAgents use Manage, Add a Listing (7 steps) or Bulk Upload (.xlsx template, up to 50 at once).
- 5
Connect your CRM
5 minutesAgency overview, CRM Connection: copy the Client ID, Generate password, and enter both in your CRM.

Frequently asked questions
Can an agent list under their own name?
Listings show the agent as the contact and the agency as the business behind them. Contracts are signed in the name you choose when sending for signing (the owner, or an agent with power of attorney).
What if an agent leaves?
Manage, Agents, open the agent, Remove. Their listings stay with the agency and the seat is freed for the next invitation.
Do agents pay anything?
No. The agency plan covers every seat; agents have no billing screens.
What to do next
- Agencies: dashboard, agents, seats, and CRM connectionHow a real-estate agency runs on DomuHQ: the owner completes setup on the web, invites agents into seats, watches the portfolio on the Agency overview, and can connect a Sreality-compatible CRM to publish listings automatically.
- Create a listing: the 7-step wizardProperty Details, Location Setup, Pricing, Features & Utilities, Policies & Rules, Photos & Media, Verify Documents. What each step asks, what is required, and what happens after Publish listing.
Related articles
Verify your business with IČO
Professional hosts and agencies verify the business once with their 8-digit IČO; after that every listing they publish carries the Verified badge automatically.
BeginnerBulk-upload listings from a spreadsheet
Host Premium and Host Enterprise can create up to 50 draft listings from one .xlsx file: download the template, fill one row per listing, upload, review the validation, create drafts, add photos, submit for review.
IntermediateHandle requests and review applications as a host
Connection, viewing, and application requests all arrive under Manage, Requests. Open the applicant, check the Verified badge and their answers, request documents if needed, then Accept Application or Reject.
Beginner